How to Assemble a Folding Electric Bike, Step-by-Step
Our step-by-step guide shows you how to assemble a folding electric bike safely and quickly. From unboxing to final safety checks, we cover every step in plain English. Perfect for UK riders new to e-bikes.

The line-up compared
| Model | Price | Motor | Range | Top speed | UK road status |
|---|---|---|---|---|---|
| Engwe EP-2 3.0 Boost Folding E-Bike | £1,069.00 | 250W | 74 Miles | 15.5 Mph | Road legal |
| Engwe L20 3.0 Pro Foldable Electric Bike | £1,369.00 | 250W | 87 Miles | 15.5 Mph | Road legal |
| Samebike RS-A02 Pro Fat Tire Off Road Ebike | £749.00 | 250W | 34 Miles | 15.5 Mph | Road legal |
| ONESPORT OT16-2 Folding Electric Bike | £899.00 | 250W | 75 Miles | 15.5 Mph | Road legal |
| SAMEBIKE RS-A01 MEN1.0 Electric Mountain Bike | £589.00 | 500W | 56 Miles | 15.5 Mph | Private land only |
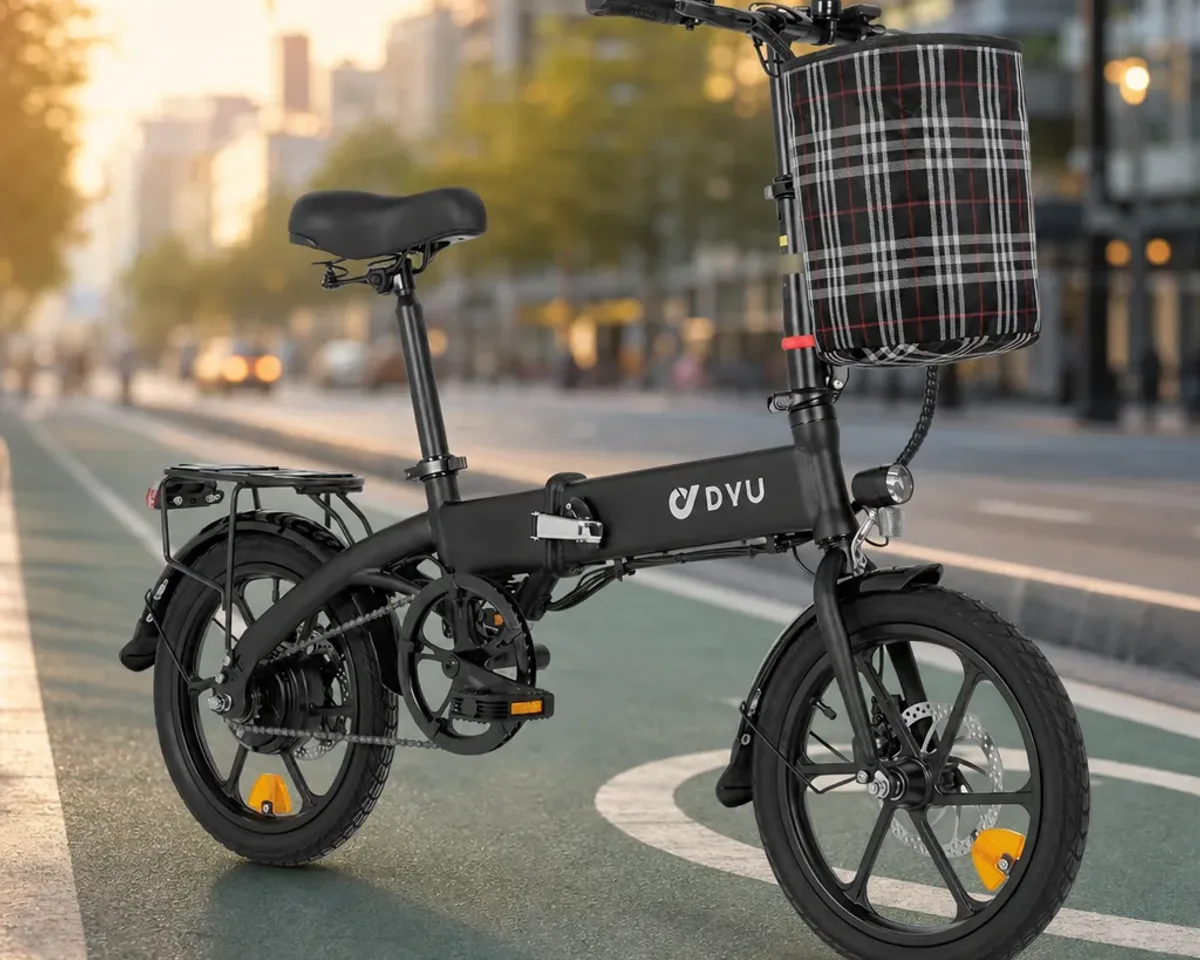
| DYU D3F Folding Electric Bike | £339.00 | 250W | 25 Miles | 15.5 Mph | Road legal |
| Vitilan V3 2.0 Folding Fat Tyre Electric Bike | £789.00 | 750W | 30 Miles | 15.5 Mph | Private land only |
You just unboxed your new folding electric bike. The frame sits in front of you, partly folded, with a few parts to attach. You might feel a little lost. That is normal. This guide will walk you through every step. You will be safely riding in under an hour.
We wrote this for everyday riders. No jargon. Just clear instructions. By the end, you will know exactly how to handle the frame, fit the pedals, and check the electrics. All while following UK e-bike law. Let us get started.

What You Get in the Box
Your folding electric bike arrives in a sturdy cardboard box. It protects the frame and components. Open it carefully with scissors. Avoid cutting any cables or tires hidden inside.
Inside, you should find the main frame, usually folded in half. The front wheel may be attached or separate. Other parts include the handlebar stem, a seatpost with saddle, a pair of pedals, and the battery. Some models, like the DYU D3F Folding Electric Bike, are almost fully assembled, while others need a little more work.
You will also find a charger, a tool kit (often a multi-spanner and Allen keys), and a user manual. There may be a small box with reflectors, a bell, and battery keys. Check every item against the packing list. If anything is missing, contact the shop straight away.
Tools You Need
Most bikes come with the basic tools. But it helps to have your own. A set of metric Allen keys (3 mm to 8 mm) is essential. A 15 mm open spanner is usually needed for pedals. A Phillips screwdriver can tighten reflectors or a bell.
Grease is not mandatory but makes threads last longer. A clean rag and some bike chain oil are handy for final adjustments. If your bike has disc brakes, you might need a Torx key (T25). Check the manual for exact sizes.
Unfolding the Frame and Locking It
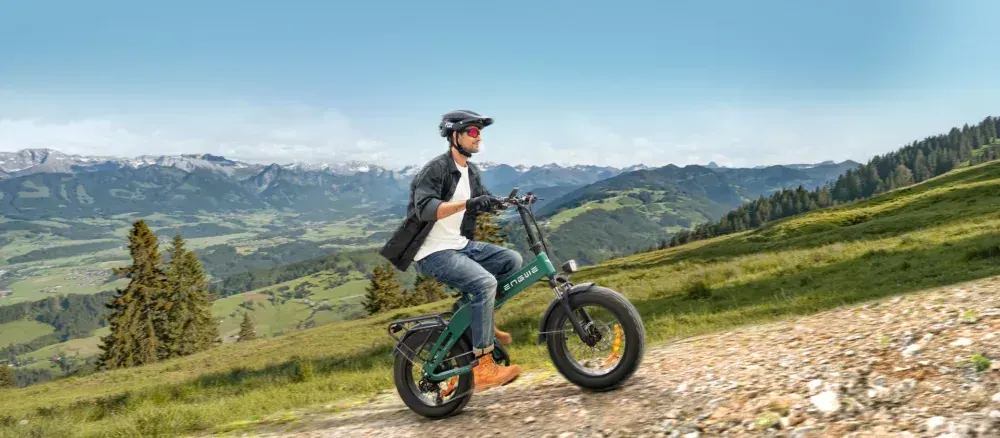
Start by laying the folded frame on a flat floor. Most folding e-bikes hinge in the middle. Look for a large lever or quick-release clamp on the main tube. This mechanism often has a safety catch. Squeeze it, then open the lever.
Gently unfold the front half away from the rear. Do not force it. Cables run through the frame, so move slowly. Once straight, the hinge should click into place. Push the clamp shut firmly. You should hear a reassuring snap.
If your bike has a second fold, for example at the handlepost, repeat the process. The handlepost swings upward and locks with a similar clamp. On some models, like the ENGWE T14 Folding City Electric Bike, there is a secondary safety pin. Always engage it.
Wobble the frame gently after locking each joint. If it moves, do not ride it. Open the clamp again and check the alignment. Sometimes a bolt needs a quarter-turn with an Allen key. Refer to the manual for the correct clamping force.
Checking the Hinge Mechanism
Folding bike hinges wear over time. They need occasional adjustment. Right out of the box, they should be tight. Look for a small nut on the clamp. If the lever feels too loose or too hard to close, turn that nut slightly.
A loose hinge is dangerous. It can cause the frame to fold while riding. This is rare, but worth a double-check. After assembly, make hinge-checking part of your regular safety routine. A quick wiggle before every ride is enough.
Installing Handlebars and Controls
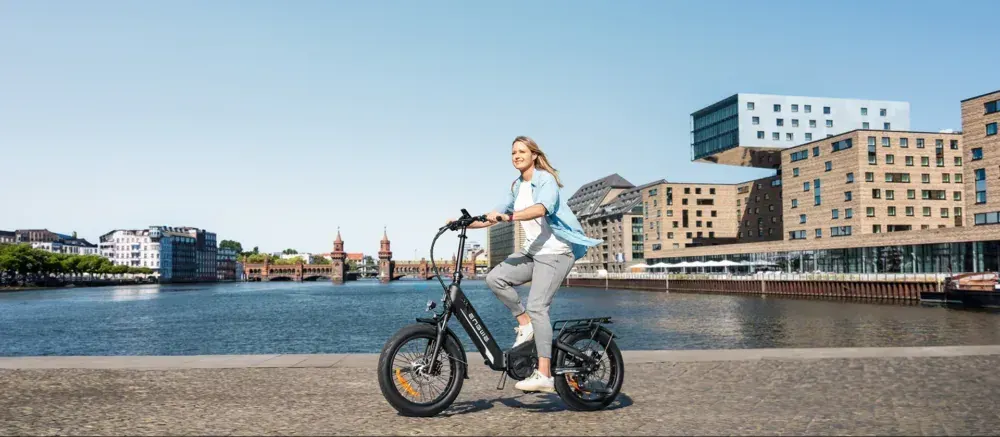
Some bikes come with the handlebar already attached to the stem. Others require you to slide it in. If it is separate, locate the stem clamp bolts. Loosen them enough to insert the handlebar. Centre it using the markings.
Align the brake levers and gear shifter so they sit comfortably. They should tilt down slightly for a natural wrist angle. Tighten the clamp bolts evenly, alternating between them. A torque of about 5-6 Nm is typical. Do not overtighten; you can crush the handlebar.
Next, check the stem itself. It may have a folding joint. Unfold it as you did with the main frame. Ensure the stem is fully extended and the top clamp is secure. The handlebar should not rotate when you twist it firmly.
Connecting Display and Throttle
Your e-bike likely has a display unit on the handlebar. It may be already wired, or you may need to plug in a connector. Look for a colour-coded plug. Push it together until it clicks. Do not force the pins.
If the bike has a throttle, it usually twists or presses with the right thumb. Check that it moves freely and returns to zero. Any cable loops should be secured with a zip tie to avoid catching on the fold mechanism.
- Align handlebar so the stem points straight ahead.
- Set brake levers at a 45-degree downward angle.
- Tighten all clamp bolts to the specified torque.
- Plug in display and throttle connectors securely.
- Zip-tie loose cables neatly away from moving parts.
Fitting the Front Wheel (If Detached)
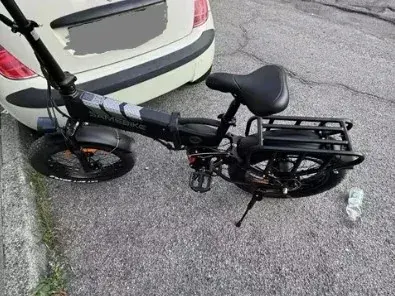
Many folding electric bikes ship with the front wheel off. This saves box space. Look for a quick-release skewer or a set of nuts. Remove any plastic shipping protectors from the fork dropouts and the wheel hub.
Slide the wheel between the fork legs. The disc brake rotor must slot into the caliper without force. If it does not fit, do not push. The caliper may be misaligned. Loosen its mounting bolts slightly, wiggle the wheel in, then retighten.
For a quick-release skewer, open the lever. Thread the nut until you feel resistance. Close the lever firmly with your palm. It should leave an imprint on your hand. If it is too easy, tighten the nut a little more. Test by trying to pull the wheel sideways. It must not budge.
If your bike uses axle nuts, use a 15 mm spanner. Tighten them securely. Do not use a power tool; it can strip threads. Give the wheel a spin to check it runs true. Slight wobble from new tyres is normal but should settle after a few yards.
Adjusting the Brakes
Before riding, check both brakes. Squeeze each lever. The bite point should feel firm and not touch the handlebar. If the lever goes too far, your brakes need adjustment. For mechanical disc brakes, turn the barrel adjuster on the lever outward.
Also check the brake pads through the caliper window. They should be clear of the rotor but engage firmly when pulled. A rubbing sound means the caliper needs centring. Slightly loosen the caliper bolts, apply the brake hard, and retighten while holding the lever. This self-centres the pads.
Attaching Pedals
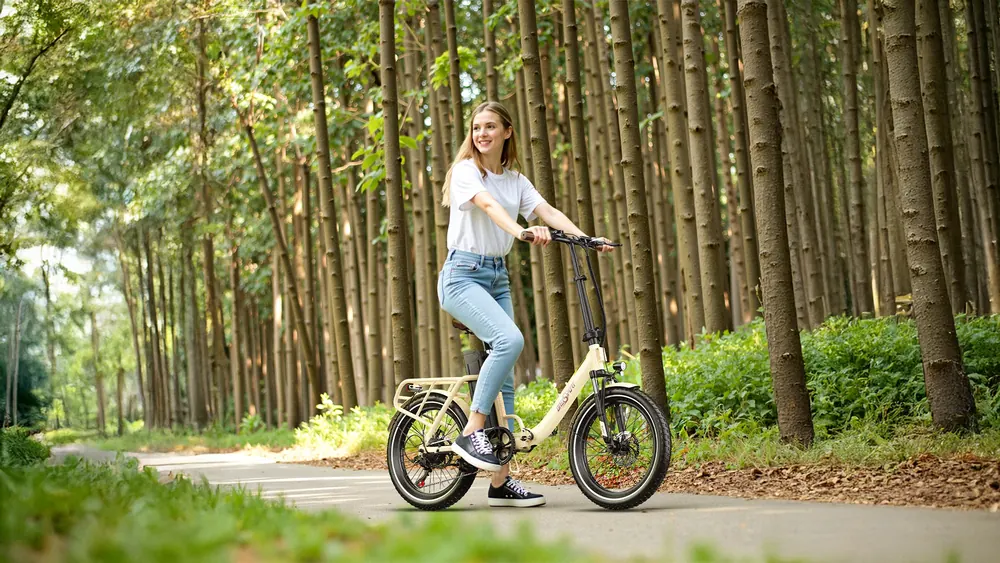
Pedals are marked left and right. Look for an “L” and “R” on the spindle. The left pedal has a reverse thread. It tightens anti-clockwise. The right pedal is normal, tighten clockwise. Mixing them up can damage the crank arms forever.
First, apply a smear of grease on the threads. Thread each pedal in by hand. Start carefully; cross-threading is easy to do. Turn the pedal clockwise for the right side, anti-clockwise for the left. Once it spins smoothly by hand, finish with a 15 mm spanner. Give it a firm turn, but do not overtighten.
Foldable pedals are common on folding e-bikes. To unfold them, press the release button in the centre and pull the outer part outward until it locks. Check the hinge for play. If it rattles, a tiny drop of oil can help.
Crank and Chain Check
Now spin the cranks. They should rotate without resistance. The chain should sit neatly on the chainring and rear sprocket. If your bike has a derailleur, shift through the gears while lifting the rear wheel. Adjust the barrel adjuster if gears hesitate.
Look for the chain tension guide in your manual. Some folding e-bikes have a single speed, which is simpler. Either way, lubricate the chain with a light bike oil. Avoid thick greases that attract dirt.
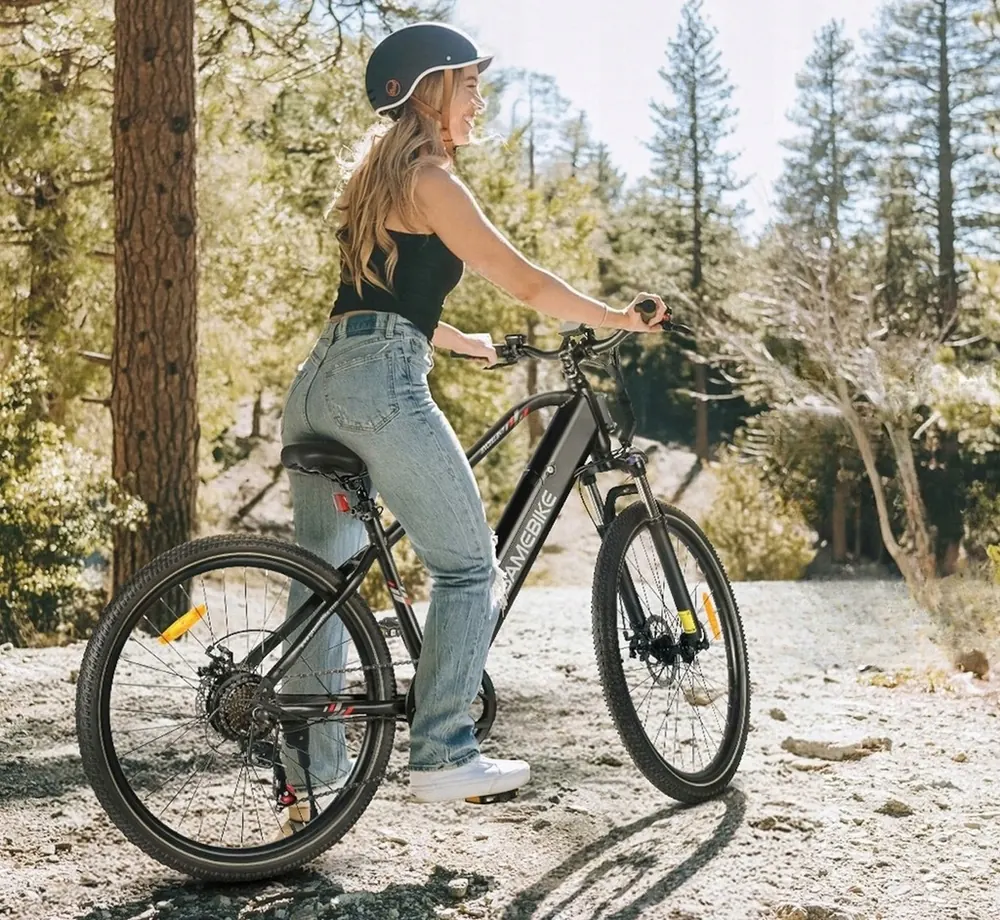
Putting on the Seatpost and Saddle
The seatpost slides into the frame tube. Most have a quick-release clamp similar to the wheel. Open it, insert the post, and set your approximate height. A good starting point is hip height when you stand next to the bike.
Close the clamp firmly. Sit on the saddle and check the angle. The top should be level or nose slightly up. To adjust, loosen the single bolt underneath the saddle. Nudge it to the right tilt, then tighten. A 6 mm Allen key usually fits.
For a folding bike, remember to lower the seatpost before folding. Some models have a marked minimum insertion line. Never raise the post above this line. It can snap or damage the frame.
Adjusting for Comfort
When pedalling, your leg should almost straighten at the bottom of the stroke. A slight bend in the knee prevents strain. If the seat is too low, you will feel cramped. Too high, and your hips will rock. Fine-tune in small moves.
For UK riding, a comfortable upright position helps you see traffic. The folding electric bike category has many models with adjustable stems. You can often raise the handlebar for a more relaxed ride.
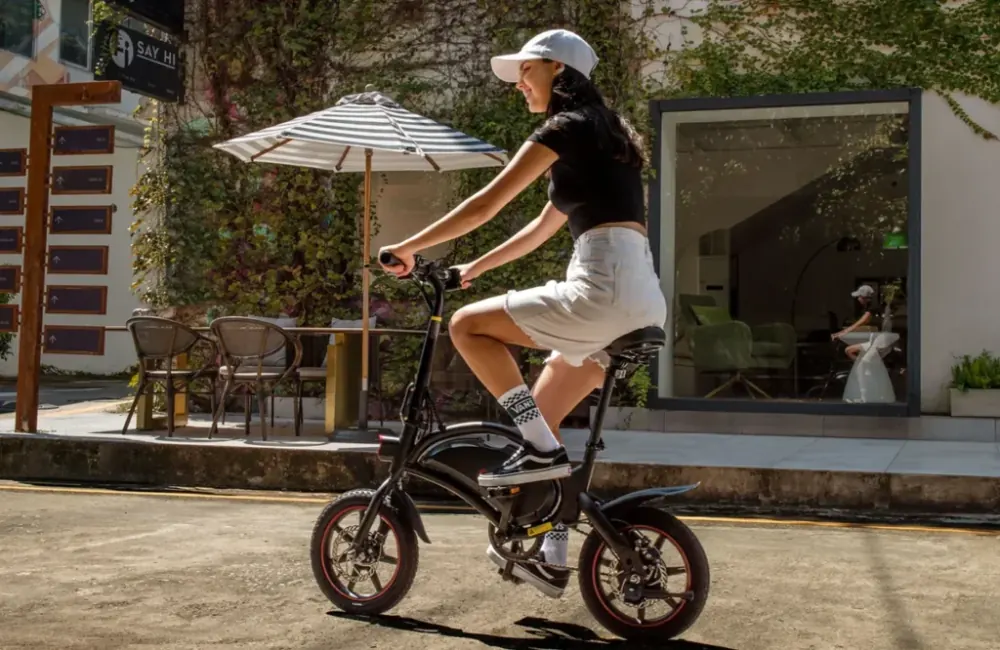
Installing the Battery and Checking Electrics
Most folding e-bikes have a removable battery that slots into the frame or rear rack. Take it out of its packaging and inspect the contacts. They should be clean and dry. Slide it into the rail until it clicks. Lock with the key if provided.
Now press the power button on the display or battery. You should see a welcome screen with battery charge indicator. If it does not turn on, check the battery is fully seated. Also ensure the key is in the “on” position if needed.
Charge the battery fully before the first ride. Plug the charger into the e-bike port, then into the wall. The charger light will turn red while charging, green when done. This initial charge helps balance the cells.
Pedal Assist and Throttle Test
Lift the rear wheel off the ground. Turn on the bike and set it to the lowest assist level. Give the pedal a gentle push with your hand. The motor should briefly whir. If it does not engage, check the pedal sensor magnet. It may have shifted during shipping.
If your bike has a throttle, test it with the wheel still lifted. A slight twist should spin the wheel. Do not test at full speed indoors. UK law limits throttle assist to a walking pace of 3.7 mph unless the bike is type-approved. For most, the motor cuts at 15.5 mph under pedal assist only.
- Fully charge the battery before first use.
- Check all lights and the display for error codes.
- Verify the motor cuts out when you stop pedalling.
- Test the brake cut-off: motor stops immediately when you pull a lever.
- Ride slowly in a safe area to check pedal assist levels.
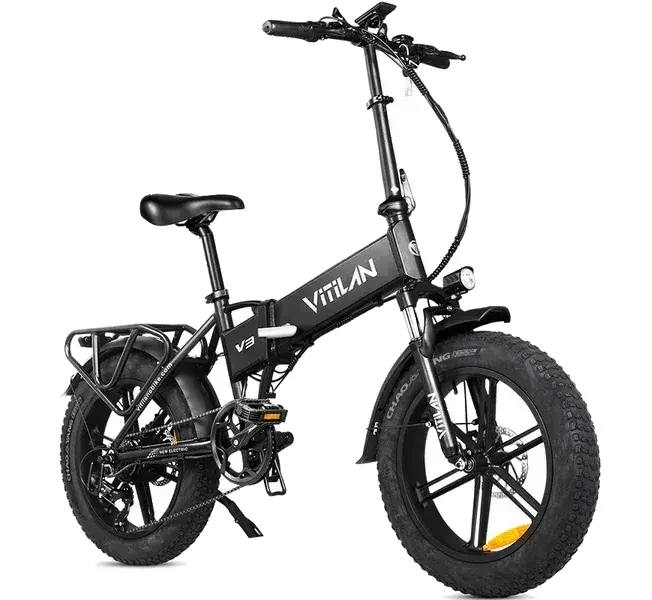
Final Safety Checks Before Your First Ride
You are almost ready. Walk around the bike and look for anything loose. Grab each wheel and try to move it side to side. Check the headset by holding the front brake and rocking the bike. No clunking allowed.
Tyre pressure matters. Inflate to the recommended psi, usually printed on the tyre sidewall. An e-bike’s extra weight needs firmer tyres. Most folding bikes work well at 40-50 psi. Under-inflated tyres wear quickly and make steering sloppy.
Adjust the bell and fit the front light if not already on. UK law requires a white front light and red rear light when riding at night. Pedal reflectors are also mandatory. If you plan to ride after dark, fit proper lights, not just reflectors. The UK government e-bike rules explain lighting requirements in detail.
Now put on your helmet. A properly fitted helmet is essential. Cycling UK recommends replacing it every five years. The Cycling UK helmet guide is a useful read.
Taking Your First Ride
Choose a quiet street or empty car park. Start in level zero assist to feel the bike without power. Check the brakes gently. Then move to eco mode. The motor should respond smoothly.
Listen for unusual noises. A rubbing disc brake, clicking spokes, or creaking hinges all need attention. If everything feels right, you are good to go. Welcome to the world of folding e-bikes. Your new bike is ready to explore.
For more on picking the right model, see our AAIRSK GT300 vs GT900 comparison. And if you need safety advice, Sustrans has excellent cycling safety tips.
Keeping Your Folding E-Bike in Top Shape
After assembly, regular maintenance keeps your bike reliable. Wipe it down after wet rides. Check the chain for rust. Lubricate it every few weeks. Re-check hinge clamps weekly. They can loosen with vibration.
The battery lasts longest if stored at room temperature. Avoid leaving it fully discharged. Charge it after each ride, but do not keep it plugged in for days. If you store the bike for months, leave the battery at about 50% charge.
Your folding e-bike is a brilliant way to get around. With this assembly guide, you now know how to set it up correctly. Enjoy the ride. And if you ever need help, browse our all guides for more expert advice.
Frequently asked questions
Do I need any special tools to assemble a folding electric bike?
Most folding e-bikes come with a basic tool kit. You will likely need metric Allen keys (3–8 mm), a 15 mm spanner for pedals, and perhaps a Phillips screwdriver. A torque wrench is helpful but not essential. Always check the manual for exact sizes.
How long does it typically take to assemble a new folding electric bike?
For a first-timer, allow around 45 minutes to an hour. If you are experienced with bikes, it can take as little as 20 minutes. Taking your time is safer than rushing through the steps.
Is it safe to ride a folding electric bike right after assembly?
Yes, provided you complete all safety checks. Double-check the frame hinges, handlebar stem, wheels, and brakes. Take a slow test ride in a traffic-free area to ensure everything feels secure.
What if the electric motor does not engage after assembly?
First, make sure the battery is fully charged and seated correctly. The power key might need to be in the ‘on’ position. If the display shows an error, consult the manual. The pedal sensor magnet may have shifted during shipping, realign it if needed.
Are folding electric bikes legal on UK roads without insurance?
Yes, as long as the motor is 250W maximum and pedal assist cuts off at 15.5 mph. They are classed as Electrically Assisted Pedal Cycles (EAPCs). You do not need a licence, tax, or insurance, but you must be at least 14 years old. The bike must also have working lights and reflectors if ridden after dark.